Link Processing To Review and Export
Pre-Export Setup
Review Account Creation and Permissions
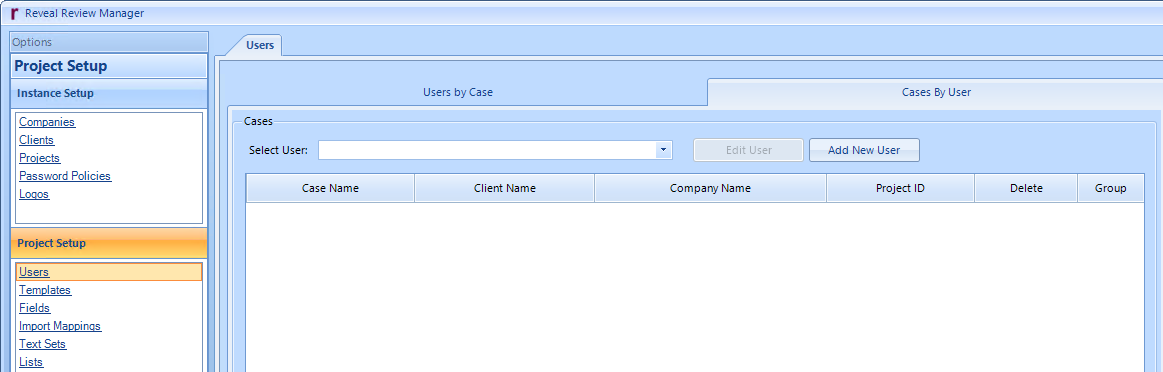
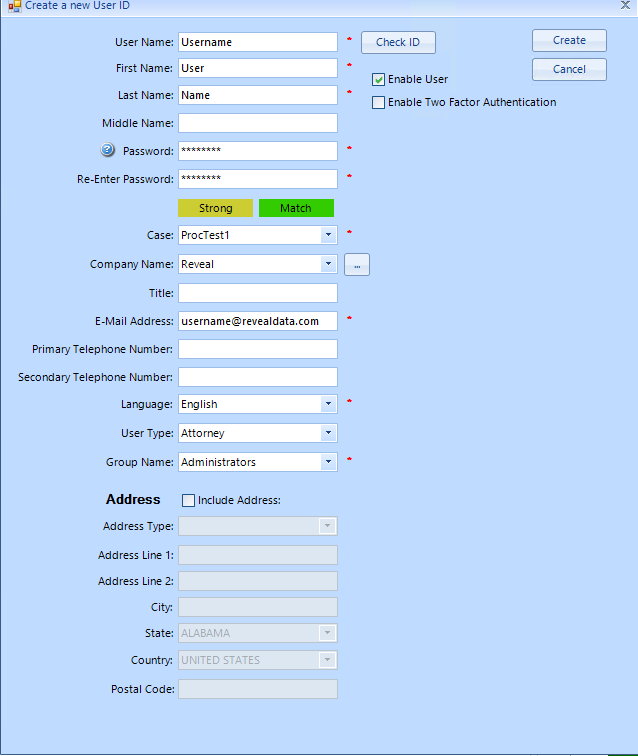
If you have not already, make a new user for yourself in the Review Manager (formerly Ops Center). See Project Setup > Users > Cases By User > Add New User.
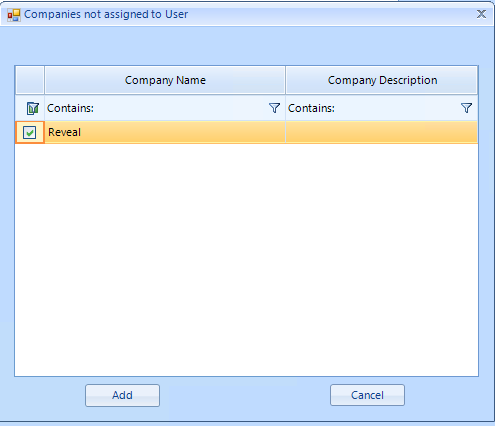
If the project already exists in Review, assign yourself as an Administrators group user for it. Set or make note of the Company for the applicable client. See Project Setup > Users.
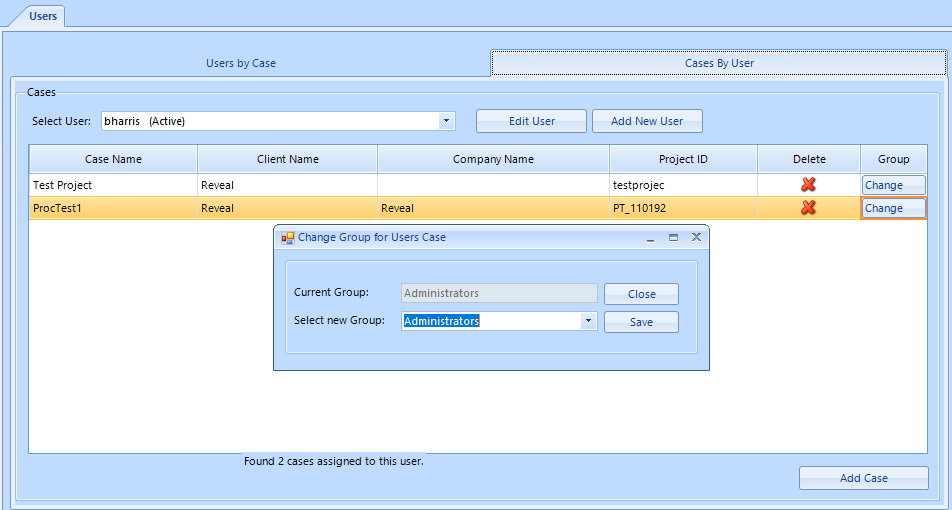
Assign yourself as a Company Admin in the Company relevant to the Review Project.

Enter Credentials and Link Project/Client
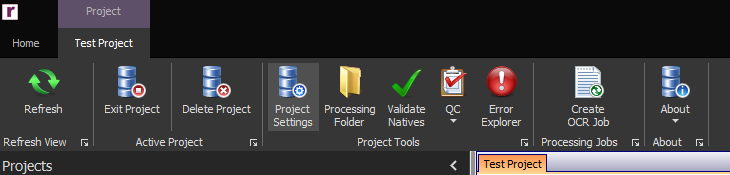
Back in the Discovery Manager a/k/a Processing, click Review Account on the far right of the Home ribbon.

Enter the credentials for Review from step one. These are user specific (everyone using Discovery Manager will enter this when first using the application).
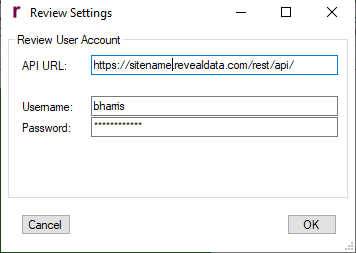
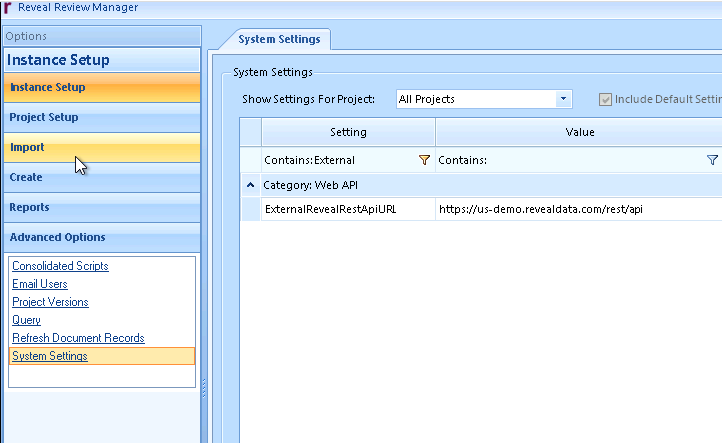
Add the API Link and click OK. For your instance it is https://changetoyoursitename.revealdata.com/rest/api/. This can also be found in Review Manager-> System Settings as shown below.
On the Home ribbon, click Edit/Delete Clients.
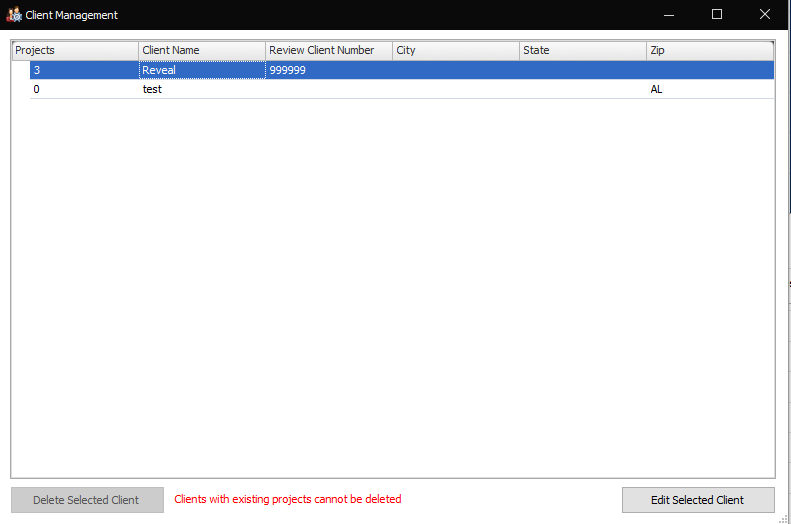
Select the Client that the Project falls under and click Edit Selected Client.
Note
If a client is already assigned it will not appear in the list.
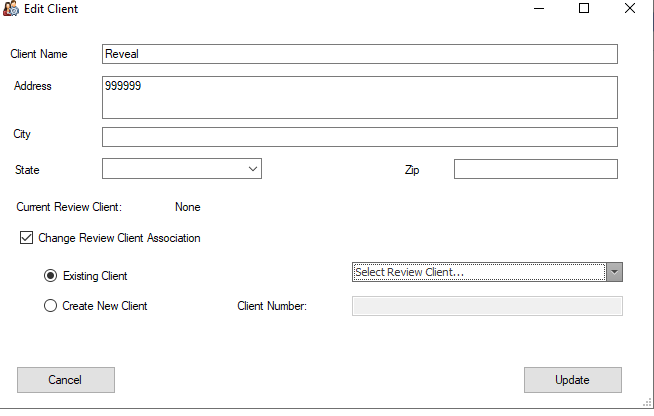
If not already linked, create or link to existing client in Review after Checking the ‘Change Review Client Association’ checkbox. Click Update.
Open the Project you wish to link from Processing to Review.
On the Project ribbon, click on Project Settings.
Click ‘Change Review Case’ checkbox.
If the case/project in Review already exists, use the dropdown, otherwise use a 10-digit alphanumeric unique identifier to create the Review case/project.
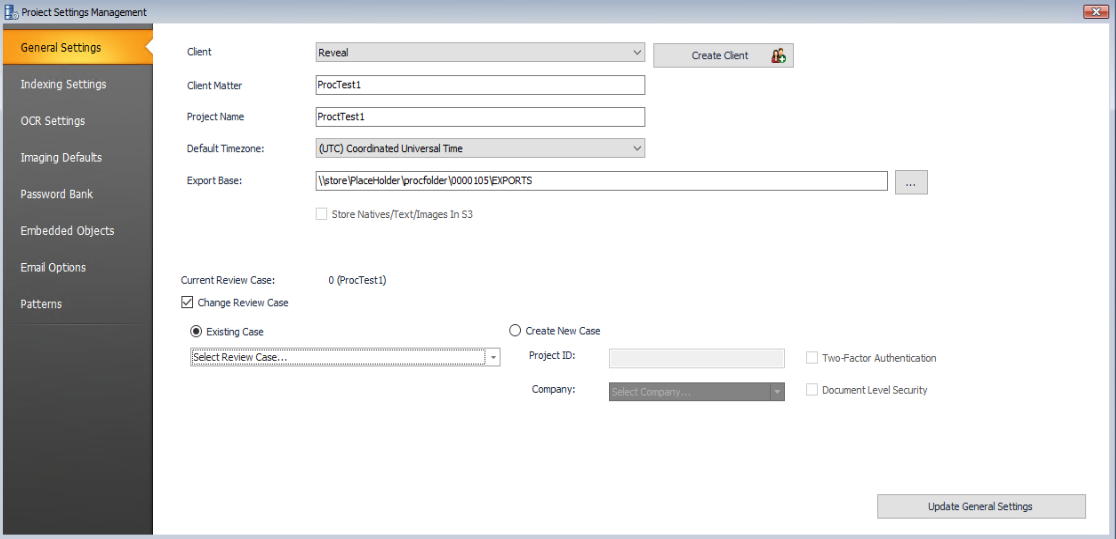
Click Update General Settings. This may take a moment and reload the project in your view.
Exit and re-enter the Discovery Manager to ensure the link is set. The Client and Project should have both changed from a blue to green hue in the Project list.
Export To Reveal Review from Subset of Terms Using Selective Set
Isolating a Subset of Terms from a Larger Selective Set
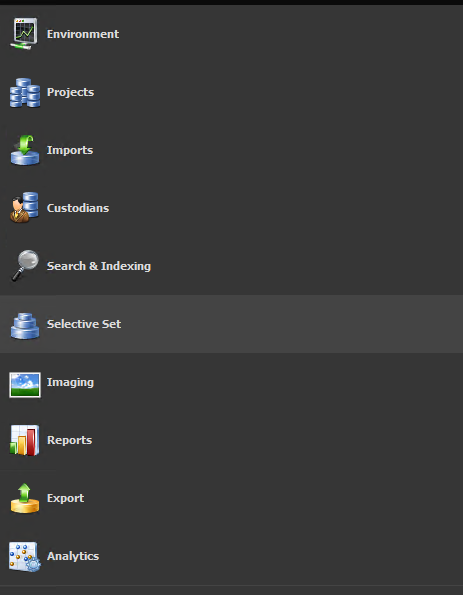
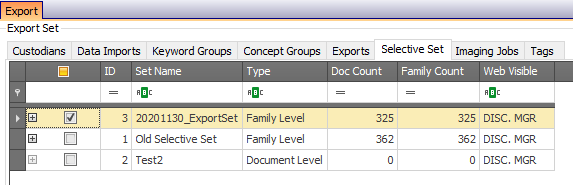
Open the Project and enter the Selective Set Module.
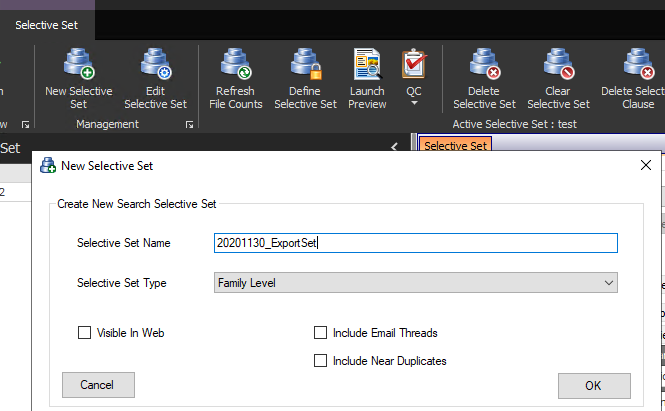
Create a new Selective Set using the options on the ribbon. Select ‘family level’ in the drop down options. Use a name with a date to track your work.
As the first clause, use the old Selective Set with the larger group of data.
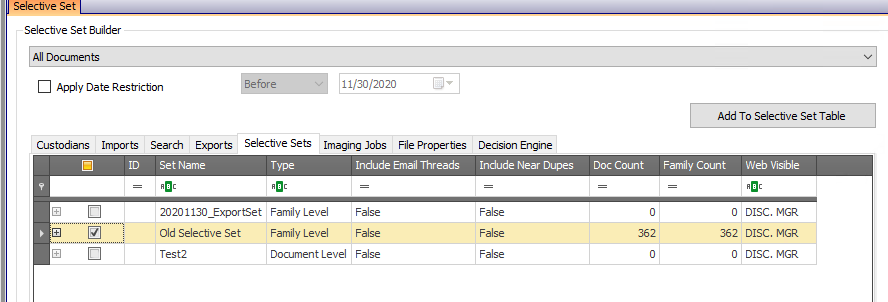
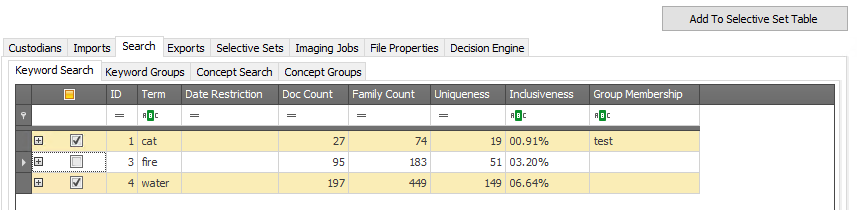
As the second clause, add just the terms you want to push into Review.
As the third and final clause, type ‘1 AND 2’ into the Boolean logic prompt.

Define this clause using the Define Selective Set button on the ribbon.


Exporting to Review
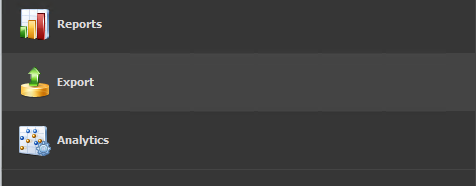
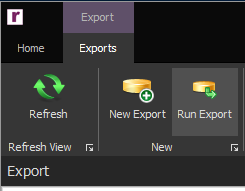
Open the Export module.
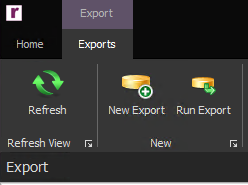
Click New Export.
Type in a unique and meaningful export name, date prefix is recommended.

To the right of ‘Export Name’ is a ‘Type’ dropdown. Select ‘Review (Append)’.
Set General Settings:
Deduplication – Project/Global, Custodian, No Dedupe
Fulltext Priority – Which text is used as primary. IE if OCR is not present, Extracted will be used, or vice versa when the setting is switched.
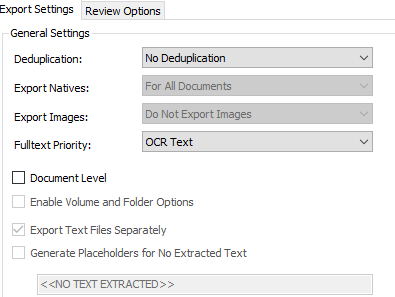
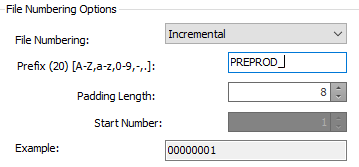
Set File Numbering Options:
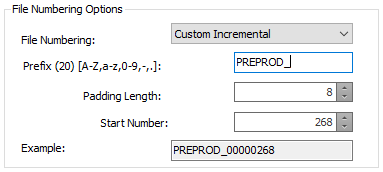
Select Incremental and Set a Prefix unless custom numbering had already been used (for example, we use ‘PREPROD_’ internally as our default).
If Custom Incremental numbering was used in a previous export, use next available number in the ‘Start Number’ field.

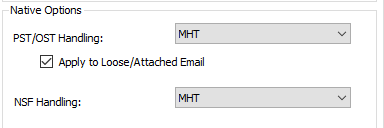
Native Options
PST/OST Handling: Select MHT unless you prefer a different format. MHT renders very well for review and imaging for production.
Apply to Loose/Attached Email: Leave this checked to ensure consistency.
NSF Handling: MHT is generally the best option here as well.
Sort is not something that is typically adjusted since the Review application will allow you to sort however you want while viewing the documents.
Click ‘Review Options’.
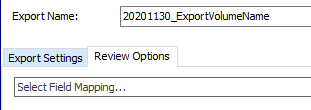
In the Dropdown, select ‘ProcessingToReview.004’ as your mapping.

Above the options section, there is a scoping window for the Export Set. Click Selective Set and check the set we created earlier.
In the upper left-hand corner, click the Run Export button.
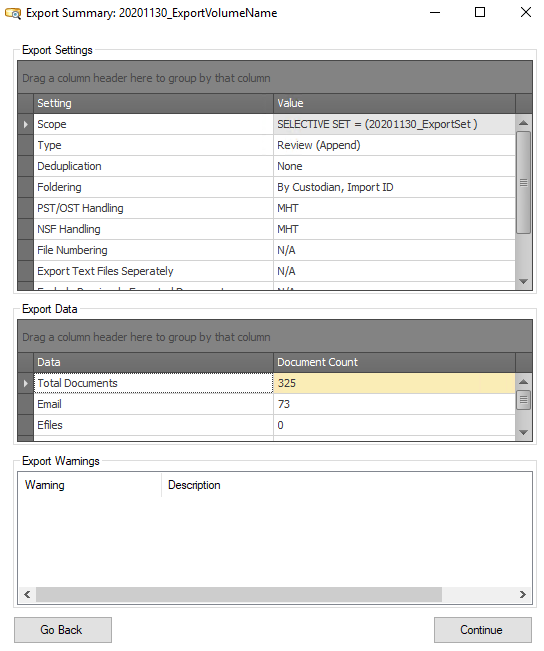
Click Continue after reviewing the Export Summary pop-up.
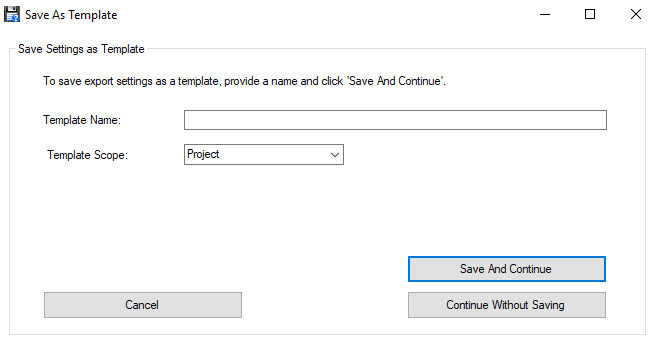
Click Continue without Saving on the template save prompt unless you’d like to save your export options.
The export will automatically be picked up and pushed into review. After it completes, the storage task will run and the Index will be automatically built. You can see this in the Create Index section of Review Manager (Ops Center).